VSCode on Cluster
Visual studio code is a text-editor/IDE which you can use to connect to and do developmet on the cluster. This works by having two instances of vscode: one which runs on the cluster and creates a tunnel for access, and a second instance which runs on your desktop/laptop and displays the application which you interact with.
Set up VSCODE on the cluster (First time)
Run the following commands from a shell on the cluster. Login node/shell is OK. For instructions on how to set this up, see the quickstartpage. These following commands must be run the first time you set up vscode, and not every time you want to launch it.
-
Make a folder where you will put the vscode binary. I like to use ~/opt;
mkdir ~/opt -
Download the latest version of the visual studio code CLI onto the cluster:
curl -L -o code.tar.gz 'https://code.visualstudio.com/sha/download?build=stable&os=cli-alpine-x64' -
Extract the archived file (code.tar.gz):
tar -xvzf code.tar.gz -
Move the code binary to the ~/opt folder:
mv ./code ~/opt -
[Optionally] Delete the archive file
rm code.tar.gz -
[Optionally] add the code cli binary to your path
nano ~/.bashrc

# go to the bottom of the file
# type the following

export PATH="$HOME/opt:$PATH"

# save the file: Press: "Control-X", then "Y", then "ENTER"

# After changing bashrc, source the file to be able to use it in the shell:

source ~/.bashrc

# test vscode works is in the path
code --version
Launch VSCODE on Cluster
If you haven't yet, follow the First Time setup instructions above.
Follow these instructions every time you want to launch vscode on the cluster:
-
Go to a login shell on the cluster. Follow the quickstart instructions if you are unsure how.
-
Start tmux to ensure the allocated job doesn't drop if your internet connection is interrupted. Run:
tmuxNow you should see a green bar at the bottom of the screen.
-
Allocate an interactive job you will use for running vscode. Make special note of the time requested, since you will be kicked off vscode when job runtime expires. This may take a few minutes.
salloc --nodes=1 --ntasks=1 --cpus-per-task=8 --time=10:00:00 --partition=general --mem=16GB --job-name=vscode-interactiveWait for the node to allocate. This may take 5 minutes, or longer if the slurm queue has other jobs to run first.
-
Authenticate using your harvard email. Follow instructions to go to https://microsoft.com/devicelogin in your browser, and enter the code from the command line. Run:
code tunnel user login --provider microsoft -
Start vscode on the cluster. Run:
code tunnel
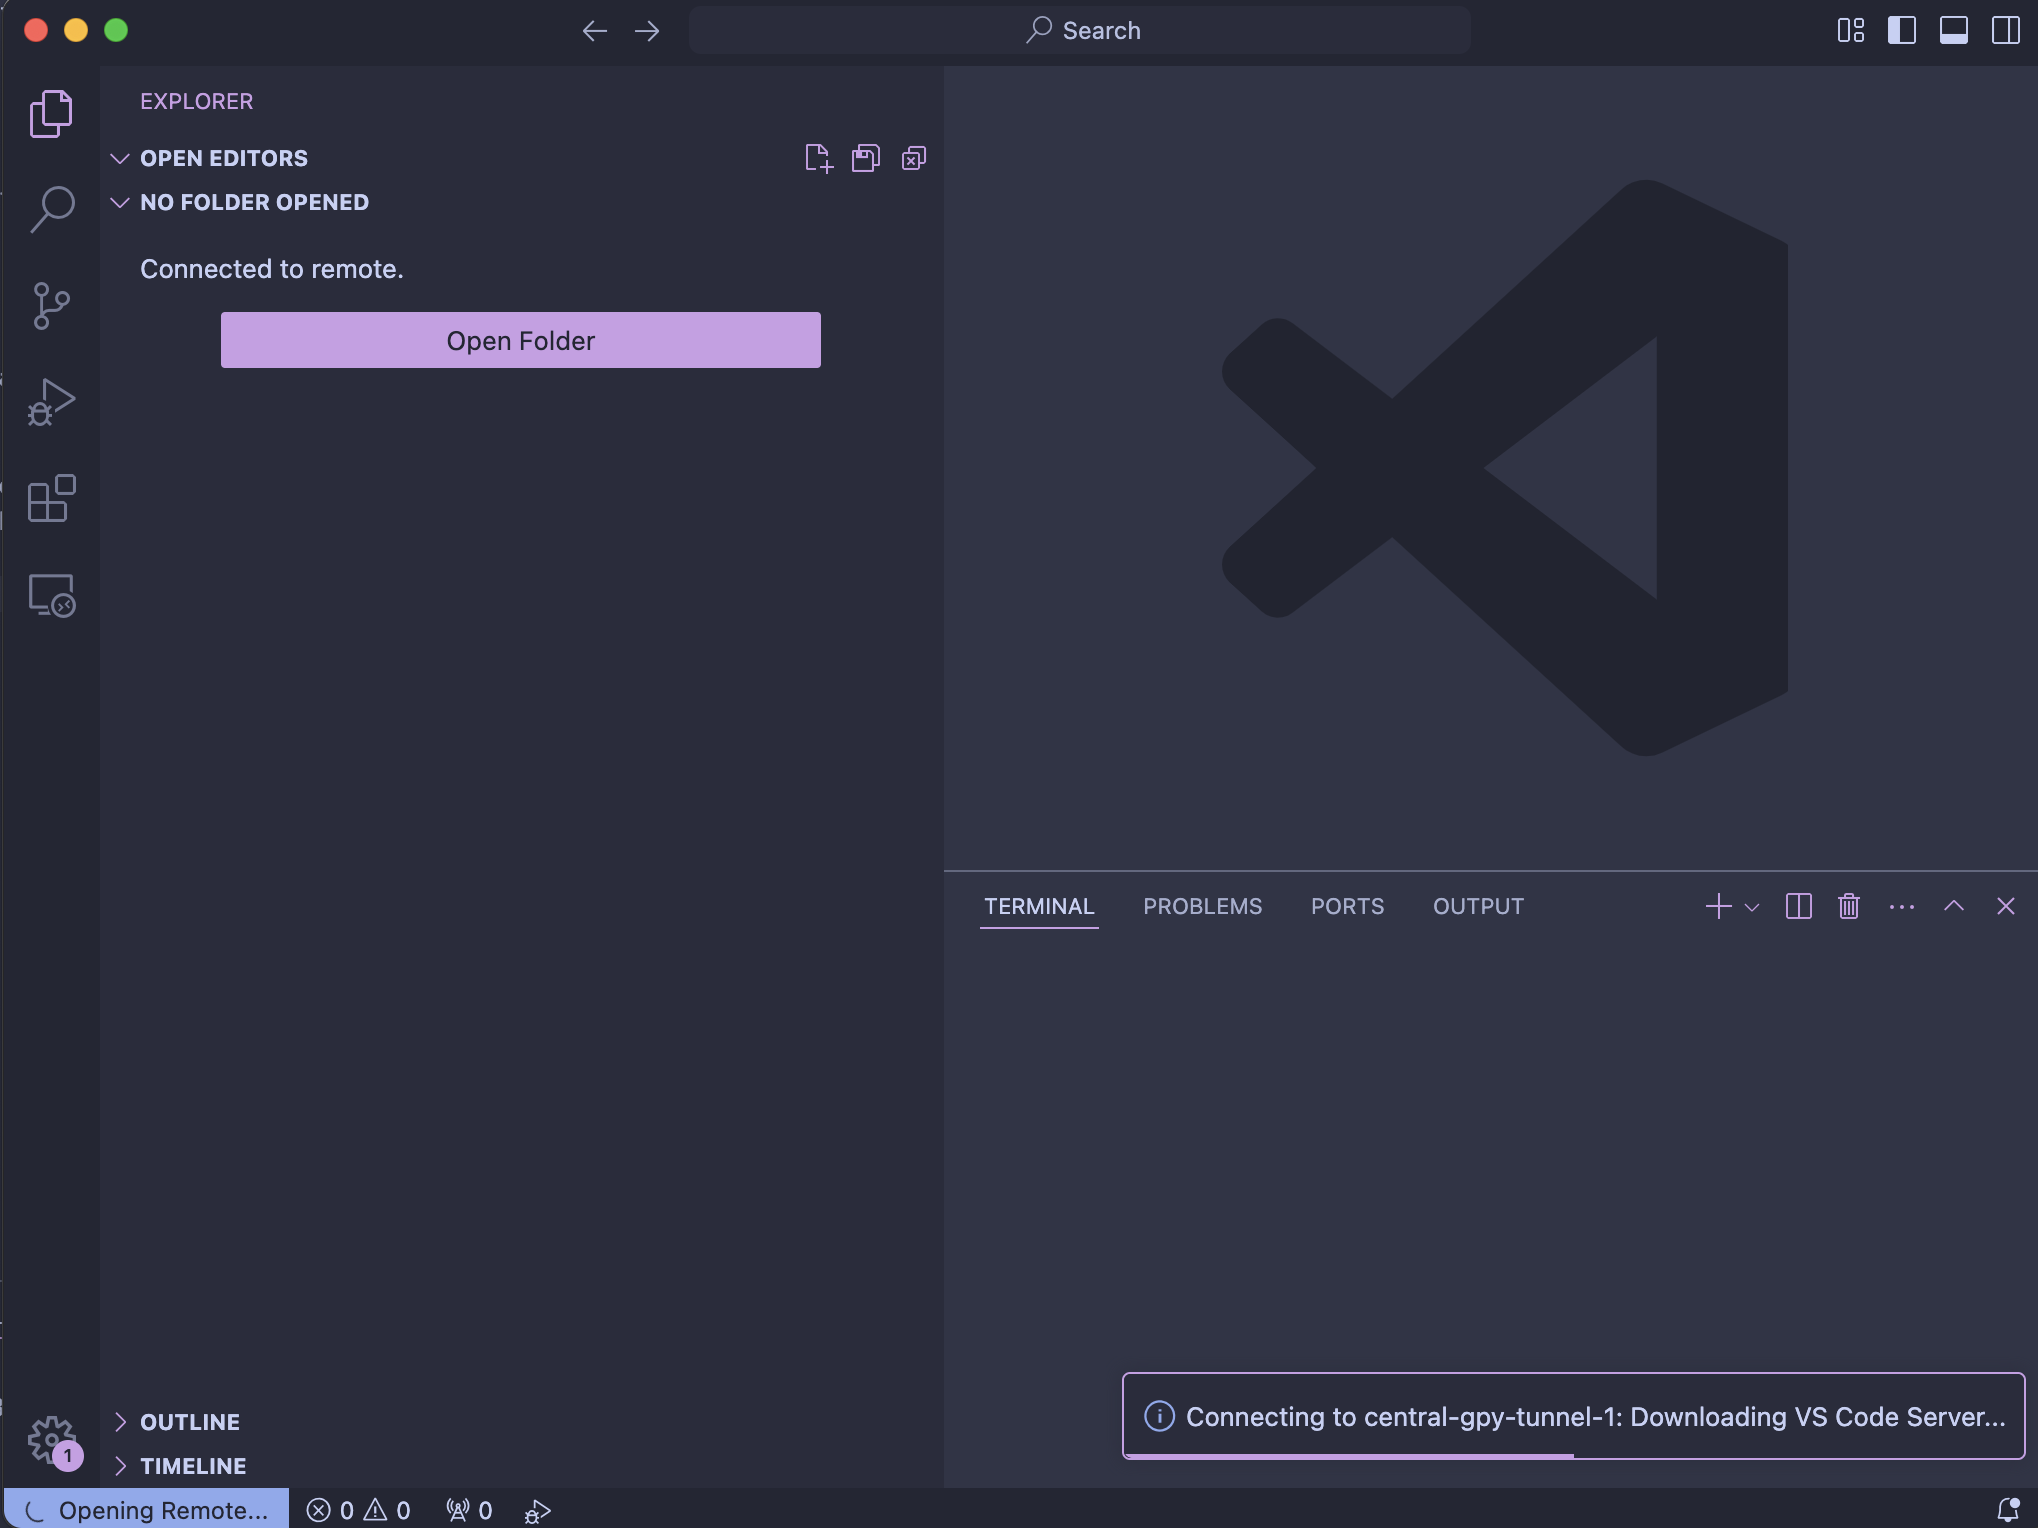
The first time you run this command, it may ask you to give the machine a name. This will help you identify the tunnel later on. E.g. "central-gpu-tunnel"
If successful, it the terminal should say:
Open this link in your browser https://vscode.dev/tunnel/...
You can open this link to use VSCode in the browser, or use the following instructions to run vscode from your device (preferred).
Connect to VSCode from your desktop/laptop
- Install visual studio code on your device, if you haven't already. You can follow the instructions on the visual studio code website.
[!NOTE] Choose the download for your desktop or laptop operating system (likely Mac or Windows); not the operating system of the cluster (linux)
-
Launch Visual Studio Code on your device
-
Click on the connection icon
><in the bottom left corner of the screen. -
Select "Connect to Tunnel"
-
Select "Microsoft Account". You may have to sign in to your Harvard account to authorize the device.
-
After a few seconds, you should see a list of tunnels and at least one of them should say "Online" on the right side. Select the tunnel that you created from the dropdown.
[!NOTE] You may get a warning about OS Version Unsupported. You can dismiss the warning and connect anyways.
- Click "Open Folder" on the left sidebar to open a folder on the cluster and begin coding.
How to kill the VSCode Sesssion on the Cluster
When you are done running vsocde, you should kill the job on the cluster to free up resources for other people to use. Simply closing the vscode window on your dektop/laptop will not stop the job on the server. If you use tmux, you also cannot kill the job by closing the browser window.
There are a couple of options to kill the job on the server:
- Before you close vscode on your local computer, you can open a terminal and run the command:
scancel $SLURM_JOB_ID - If you still have the OpenOnDemand shell opene where you launched
code tunnel, you can pressControl-Cto stop the currently running job, then typescancel $SLURM_JOB_IDwhen the prompt appears. - You can launch a new login shell using OpenOnDemand, and type
squeue -l. Look for the jobid if the interactive job running vscode. E.g. that jobid might be1131. Now runscancel 1131to kill the job running vsocde tunnel. - If nothing else works, you can let the runtime expire. The job will be killed when the time runs out, but you still be charged fairshare for the entire runtime.